At this points I have to mention this website: https://hoseeker.net/ . This is an essential resource for anyone who works with older HO scale model trains. It is a lifeline that I am very thankful for.
Back to the locomotives. I decided to keep the old 5-pole open-frame electric motors. I bought 30 AWG wire and replaced the original wires, whose insulation was almost completely worn away.
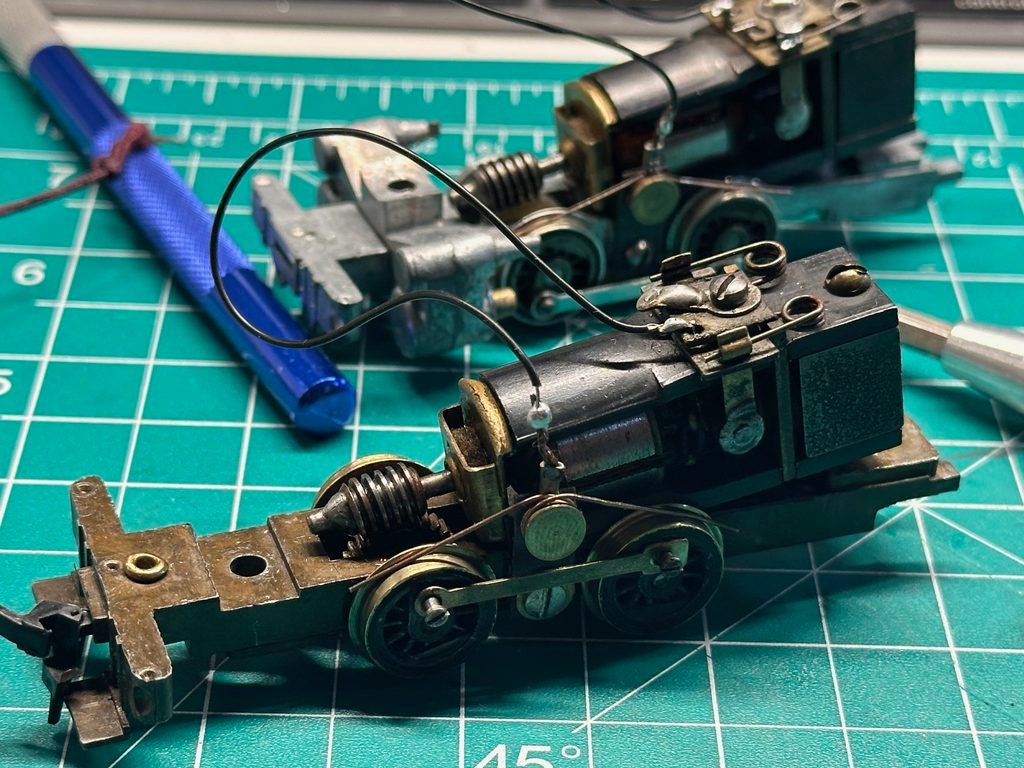
Both motors worked very well, and I liked the fact that they were still part of the history of these locomotives. The next challenge was installing the extra rods—the Valve Gear Kit that I had found with my first Varney model. The other two locomotives had only very simple rods.
I am not sure where this particular valve gear came from, but I found that Bowser offered one as well: Bowser valve gear documentation.
The orientation and position of the wheels matter! This is partly because some of the wheels are electrically insulated, and I had to do quite a few tests and trial runs to figure out the proper configuration. Of course, I discovered several times that I had installed the wheels incorrectly—usually only after I had already installed the rods.
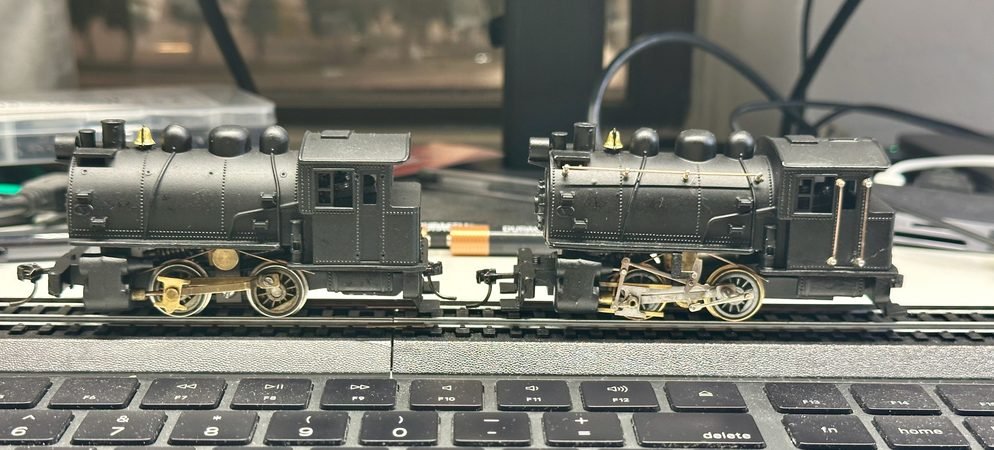
After testing everything and installing the shells, I ended up with two working switchers:
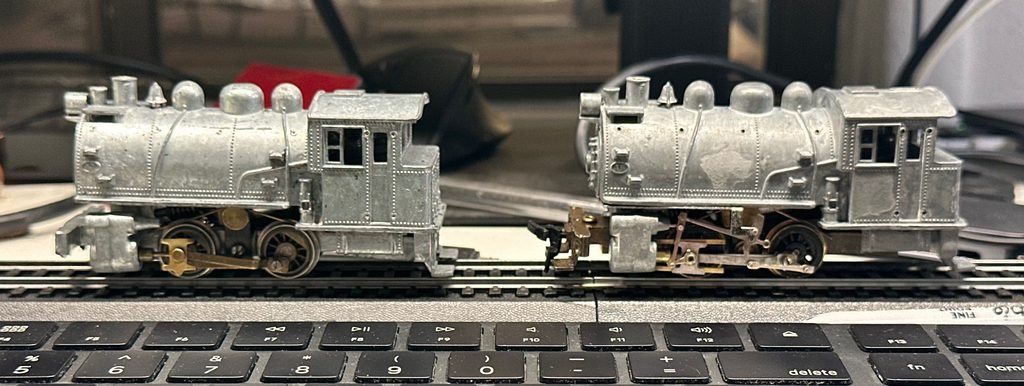
And this is how one of them ran:
There were two more steps: adding couplers and painting.
One of the problems I ran into was the limited space for the couplers at the back. I had to manually file the openings to make them larger.
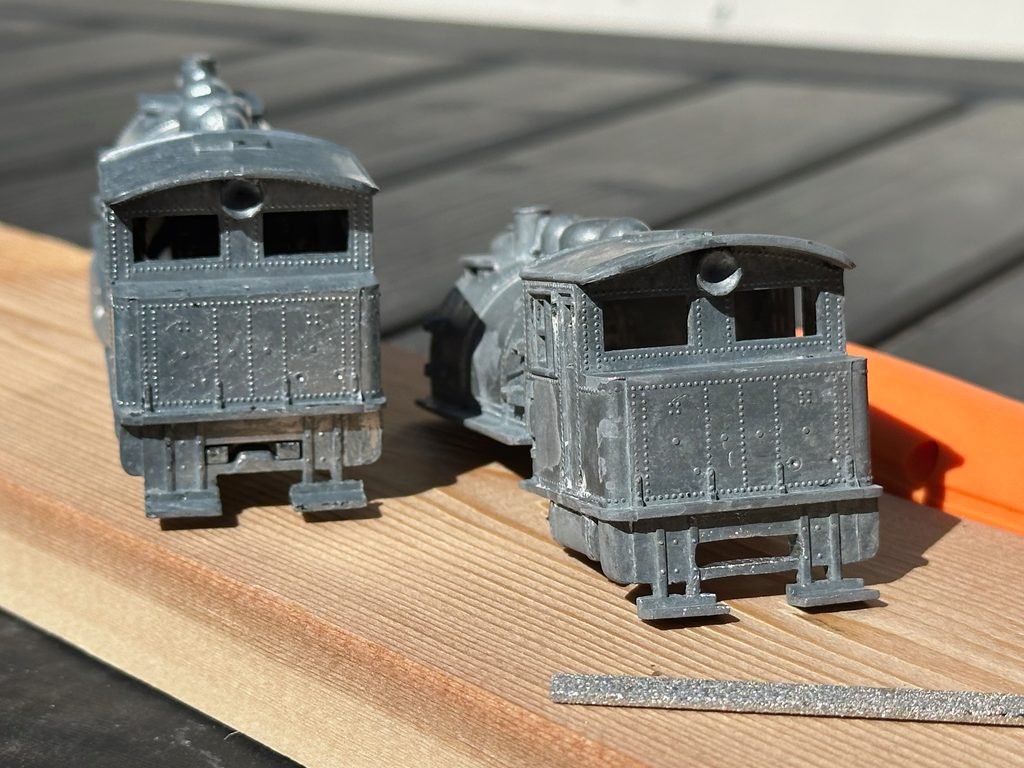
The shell on the left has the original opening, while on the right the opening has already been enlarged. I decided to use a Kadee 156 Long Centerset Shank Whisker Coupler in the back and a Kadee 148 Long Medium Shank Whisker Coupler in the front—without taking any proper measurements. Sometimes you just have to try something and see if it works.
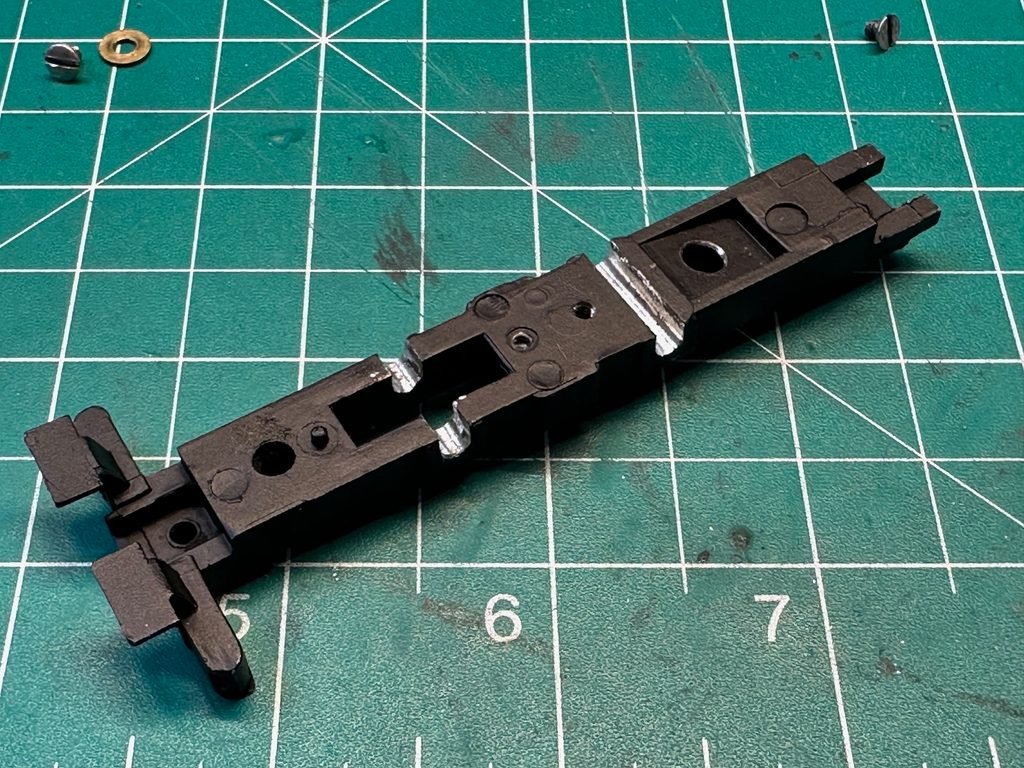
For the paint, I used Tamiya TS-6 Matt Black spray paint. After painting the bottom frame, I removed the paint from the areas where the electrical contacts are made to ensure good conductivity.
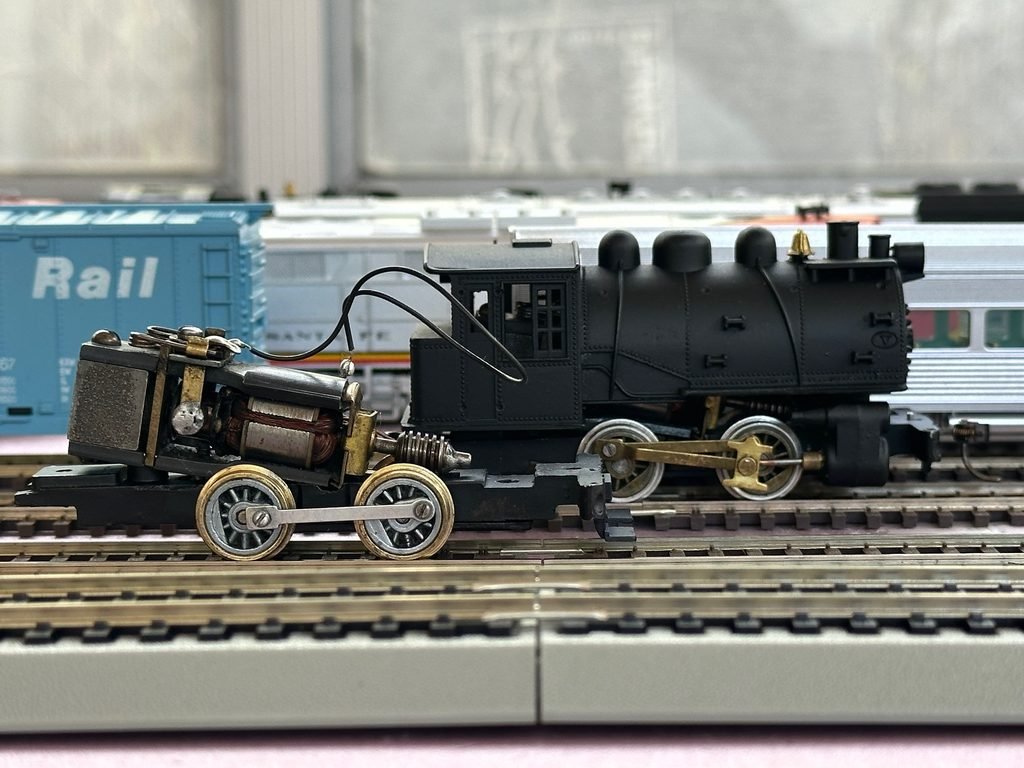
The last thing was to add the brass railing to the original locomotive. I glued it in place with Gorilla Super Glue. I painted the bell with Tamiya X-12 Gold Leaf and the lights with Tamiya X-11 Chrome Silver. After assembly, both locomotives worked great. By this point, I had assembled and disassembled them so many times that I could probably do it blindfolded.
And this is how they looked:
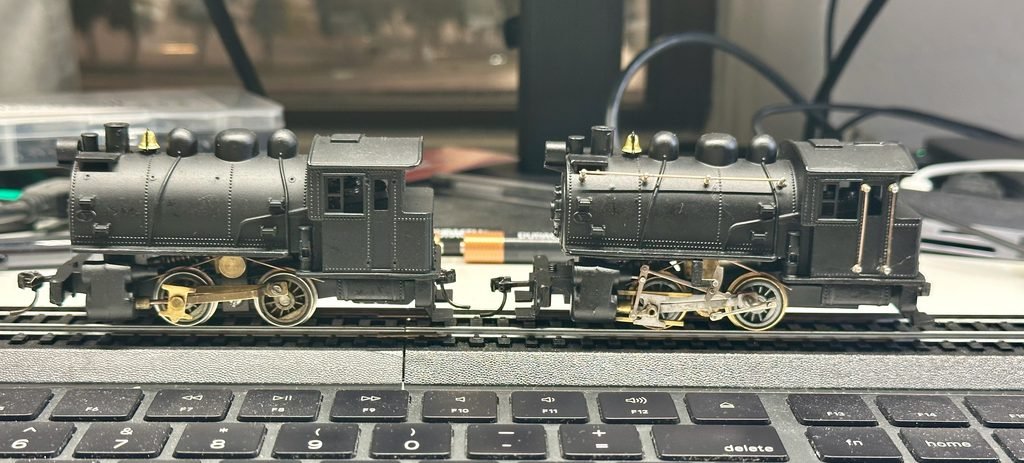
You can see the longer-shank couplers on the front—they were replaced later. There is also a screw visible at the front, which is not ideal, but it works for now. The front railing is still missing, and that is something I would like to add later.
Both engines are surprisingly durable and heavy, and they are able to pull a lot of cars. They can also run quite smoothly, especially considering their age. These locomotives were introduced in 1941!
This restoration took quite a few nights, but I was determined to finish it. What fascinates me most is the longevity of this model. After more than eighty years, these little locomotives can still be brought back to life, put on the track, and made to run again.
There is something deeply satisfying about that.