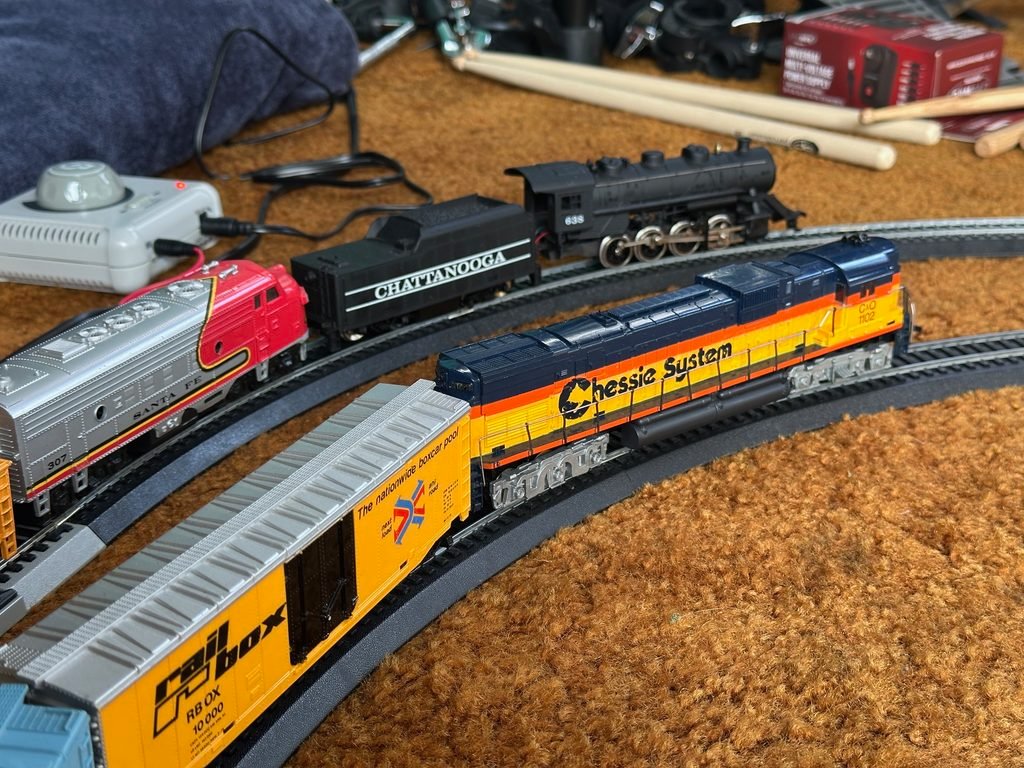
Our first model train set was the Bachmann Santa Fe Flyer in HO scale. I bought it for my son’s birthday, but we ended up opening it several months earlier, on May 6, 2026.
It was one of those weekends when there was nothing to do… Little did we know that it would start something much bigger than we had originally imagined.
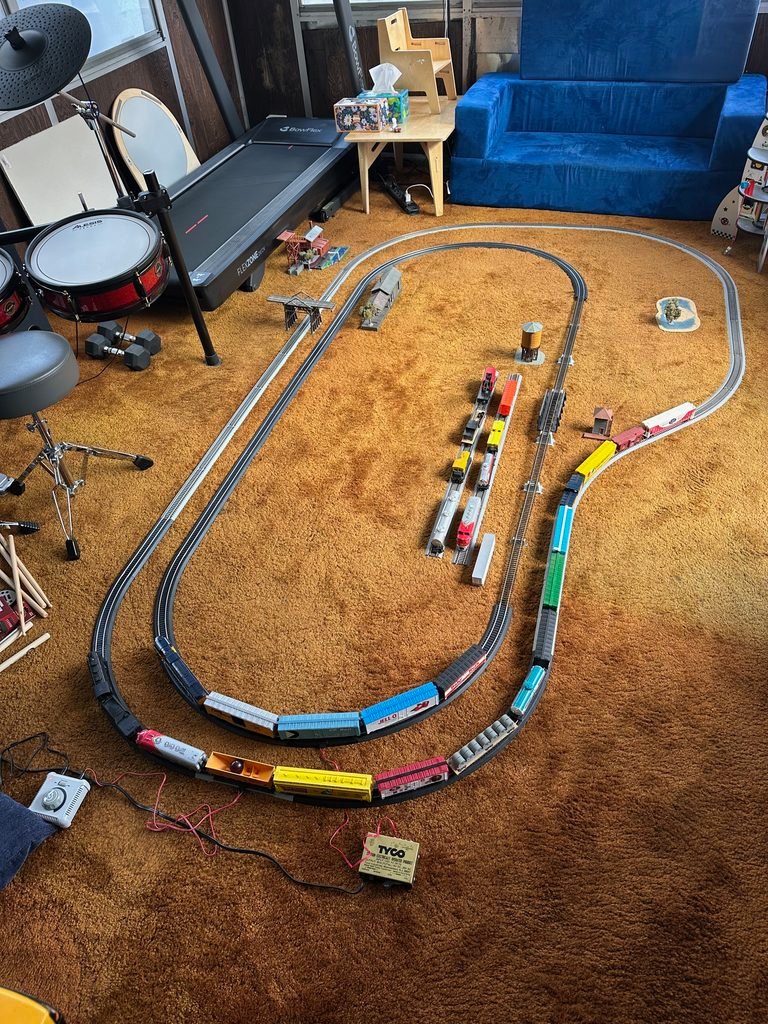
Just a few days later, I came across a Craigslist post offering a large collection of older model trains, tracks, buildings, and scenery. For some reason, I had just the right amount of cash and enough time to pick up the collection right away.
It was a nice collection, but almost nothing worked. YouTube came to the rescue! I bought LaBelle 107 lubricant, and soon afterward, almost all the locomotives were running smoothly. I’ll write more about our first secondhand locomotives (mostly Tyco) in a future post.
We had a lot of fun running two trains simultaneously, each pulling a long string of cars!
But after a couple of weeks, it became clear to me that we needed a train table, mainly for three reasons:
- Space. The tracks were taking up too much room.
- Perspective. Always looking at trains from above can get boring. Lying on the carpet wasn’t very comfortable after a while, either.
- Dust. Carpet dust isn’t ideal for keeping model trains in good condition over the long term.
Luckily, we had an extra room! It isn’t insulated and was built as an addition to the house, so it can really only be used as a storage or activity room.
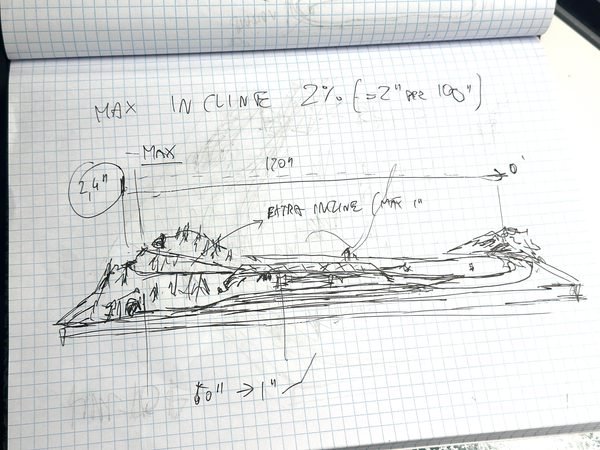
So, I started making my first sketches. It was June 1, 2026:
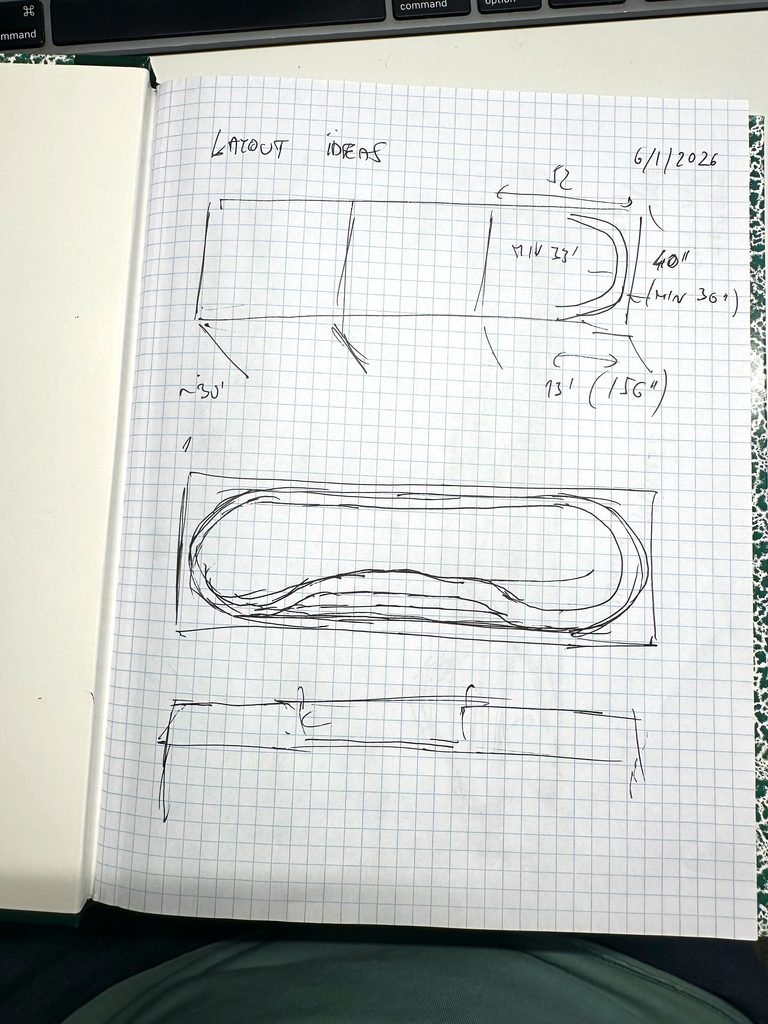
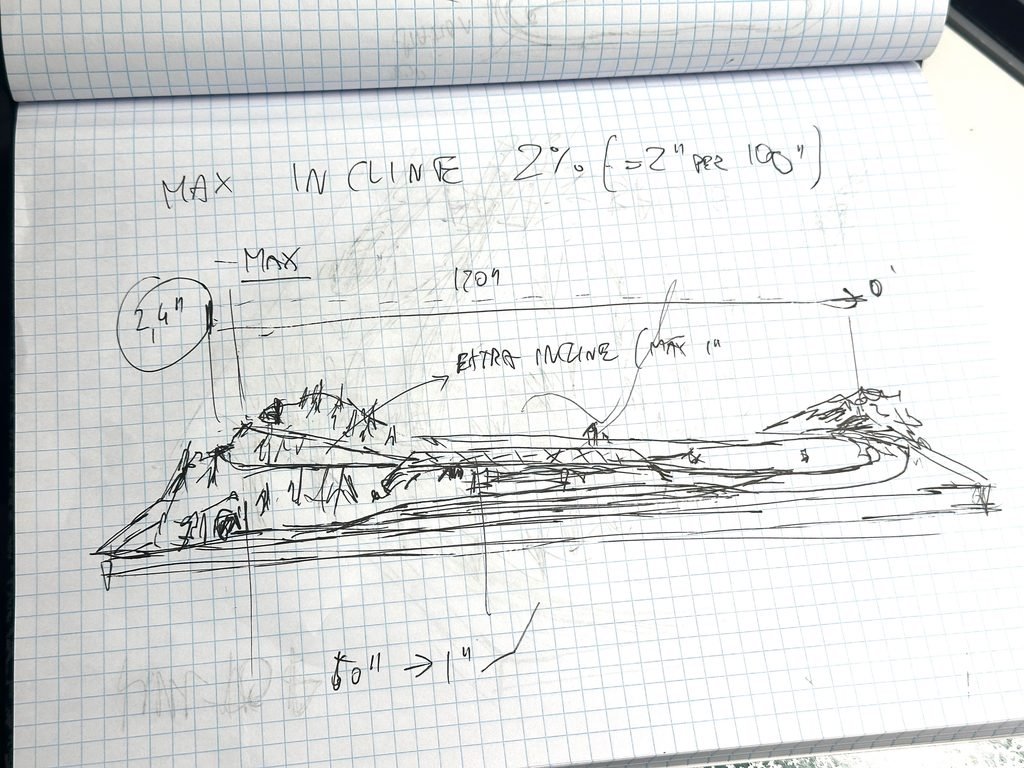
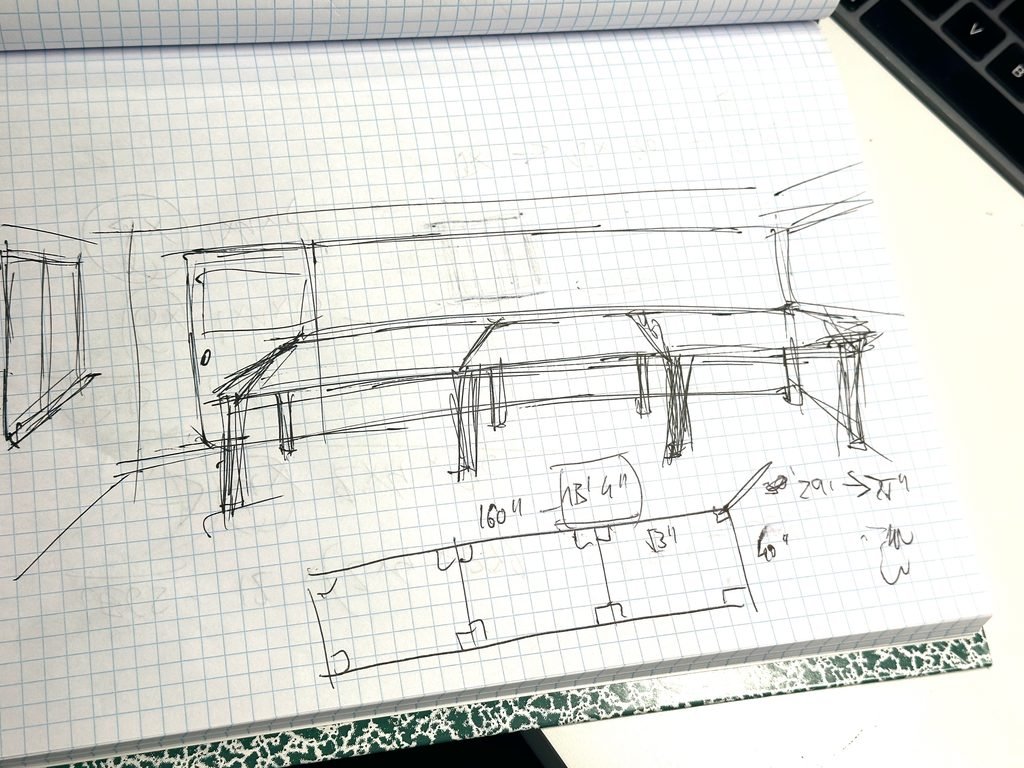
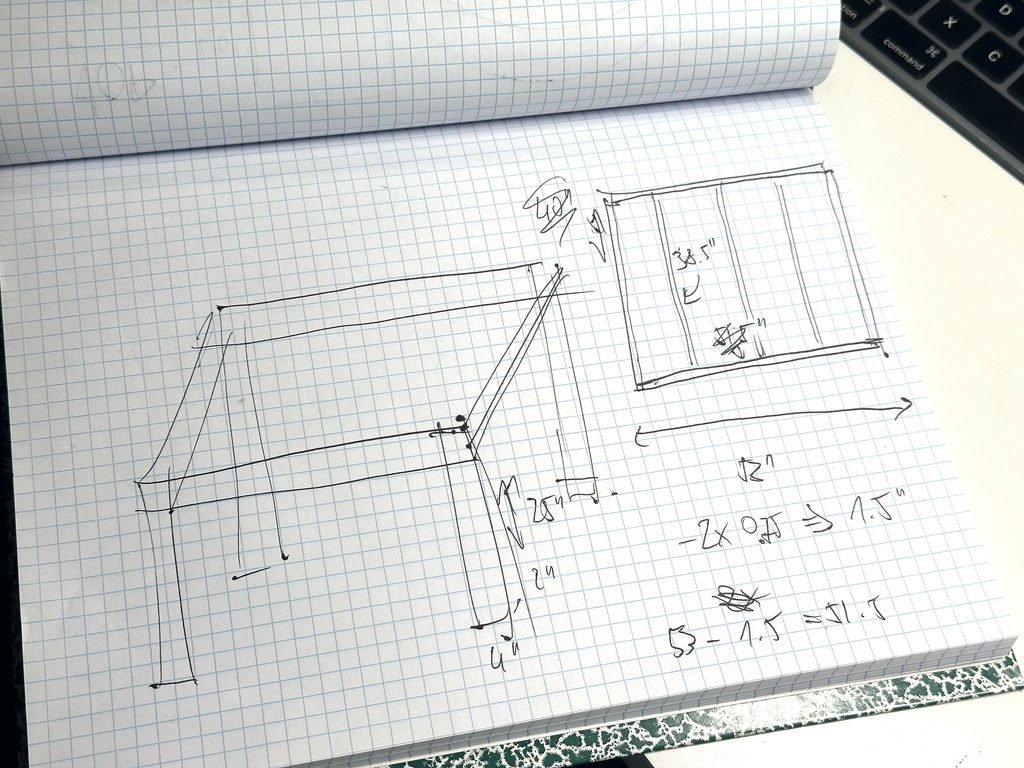
Since this layout was for my son (4 years old) and me (41 years old), I had a few criteria in mind:
- Height: Less than 30 inches.
- Depth: Around 40 inches, which meant using curves with a maximum radius of 18 inches.
- Length: Around 160 inches, limited by the available space in the room.
I found inspiration and useful information about building the table here: NMRA Beginner’s Guide – Part 3: Building Benchwork.
I tried a few 3D planning apps, but sketching and doing the calculations on paper was more fun for me.
Next: Building the frame.